Photography | Practicing on Yourself

ImageImage

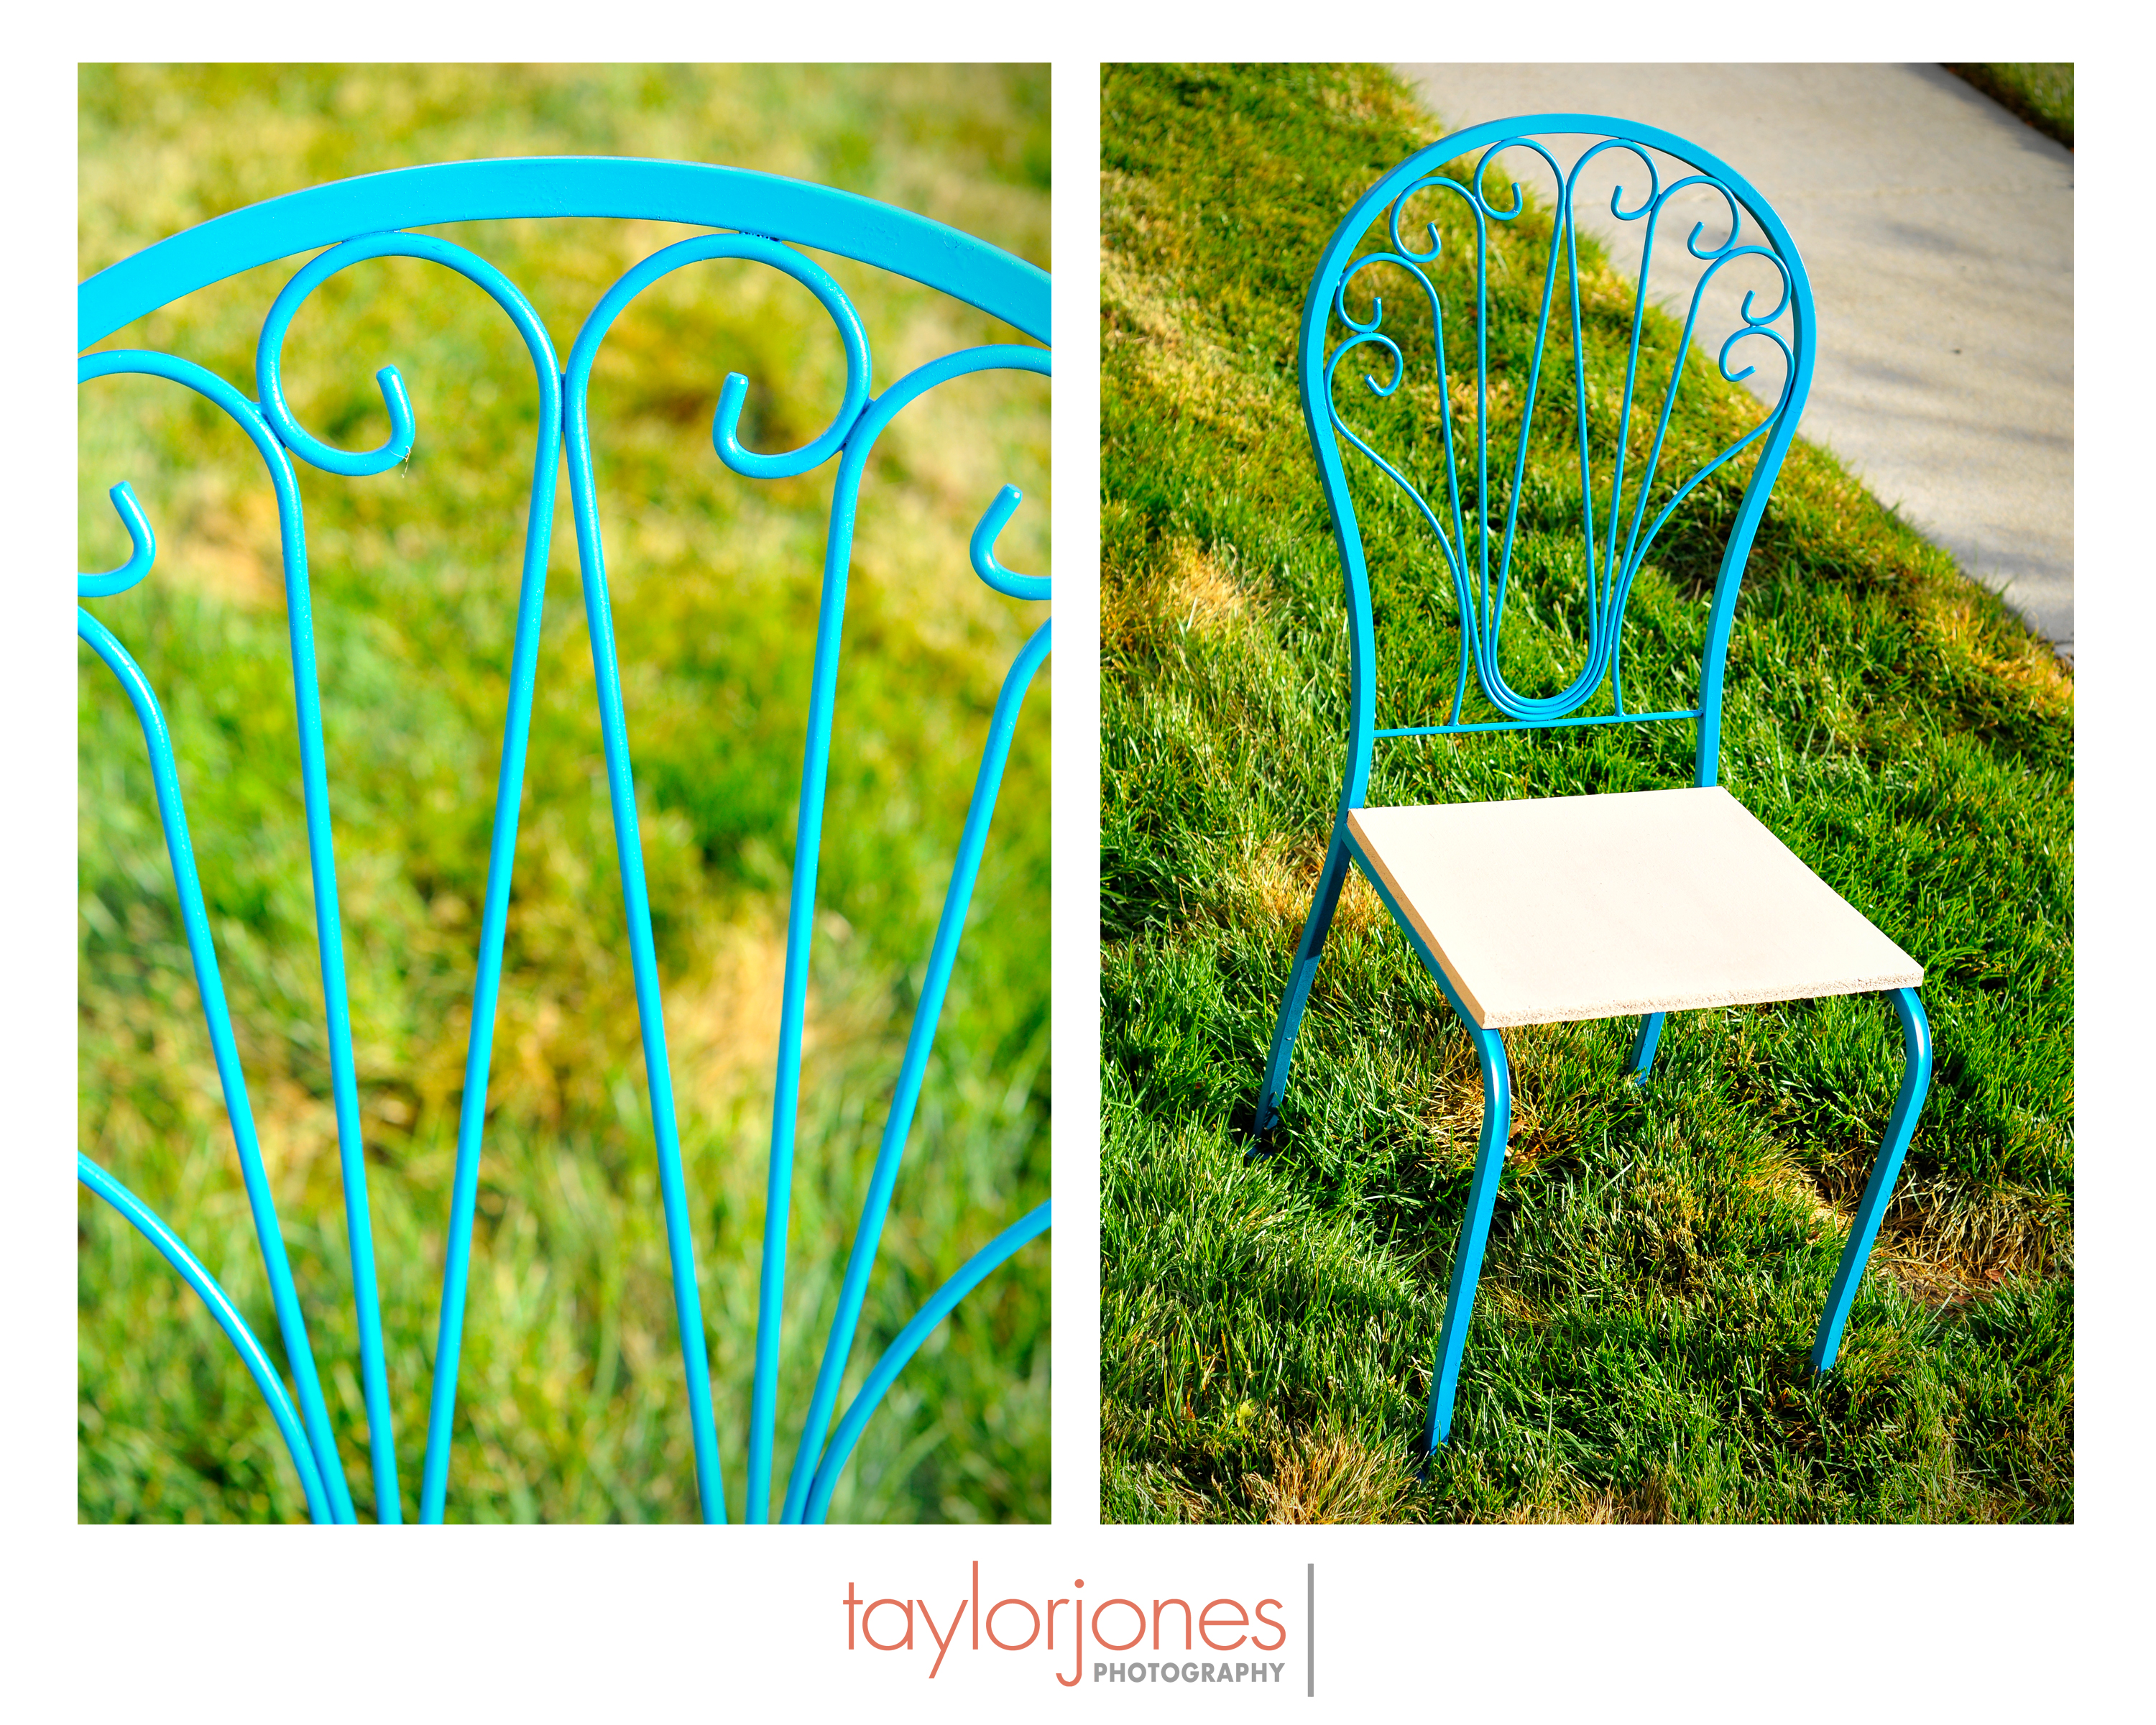
It’s freezing outside. No sun out. On my shoulders I’m carrying two camera bags, lighting equipment, a tripod, and in my left hand I have my teal chair (recognize it?!). So, there I stand alone in the middle of this field right next to the highway while people walk in and out of the ice skating rink looking at me like a moron. I’m ready to shoot some photos!

I’ve read a couple blogs of photographers saying that THEY ARE THEIR BEST MODEL. I thought to myself, “That’s ridiculous, and weird.” However, after doing a lot of research on new techniques I want to use I realized that I, in fact, might just be my best model. Now please, don’t think that I have a huge head! I am actually quite modest when it comes to taking photos of myself. Nevertheless, I have been taking notes of new ideas, props, shooting and lighting techniques, etc. I kept hitting a wall though! I’d think, “Ok, I have all day today to take photos of someone. Dang it. Everyone is either at work, school, or busy!” Also, asking a friend to dress up, do their make up, and drive to meet me is a bit irrational and unlikely to happen in a timely manner. Therefore, I used myself!

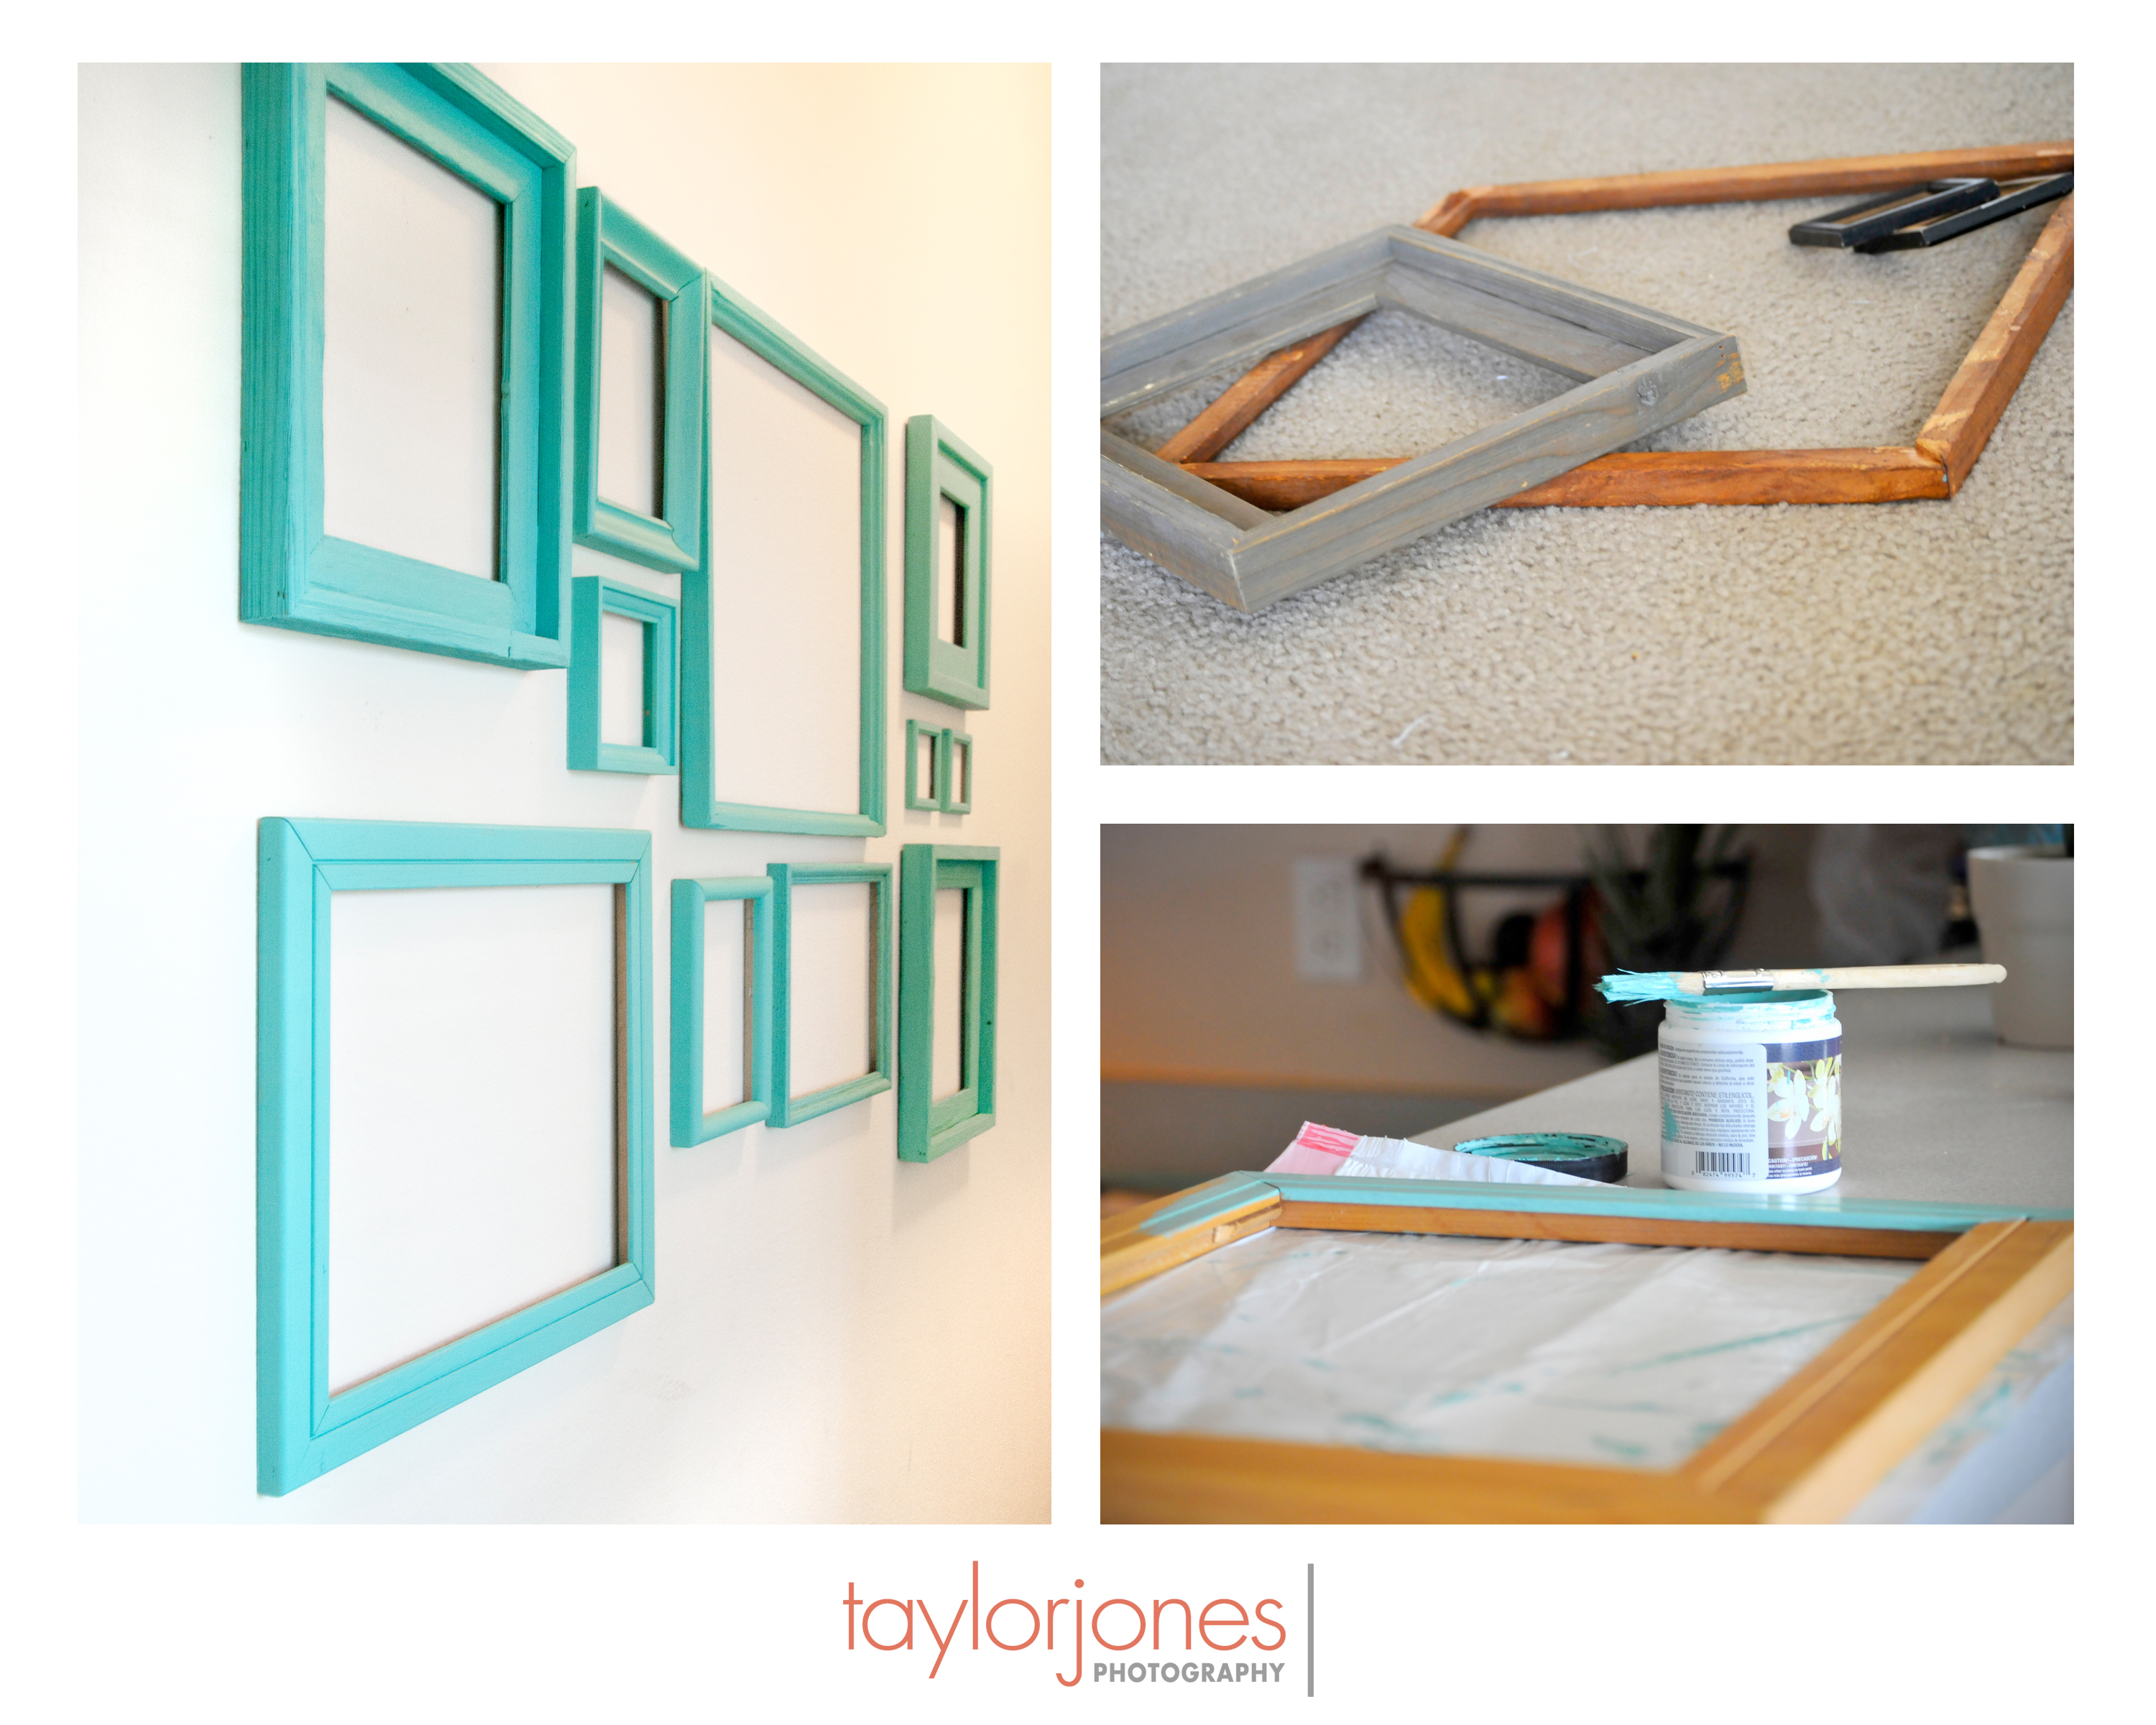
I’ve been wanting to use my new chair and briefcase. I’ve also been wanting to do a photo shoot in a huge field and practice working with RAW files. I’ve used JPEG up until this point and after this shoot doing all RAW, I’m in LOVE! I spent some quality time with my Nikkor 18-200mm 1.3 lens and some serious time practicing shooting the right angle, composition, and pose.

Hope you enjoy!
 Cheers,

Taylor

www.taylorjonesphotography.com

www.facebook.com/taylorjonesphotography

DIY | Mint Green Empty Frames

Image

I absolutely LOVE a mixture of teal and mint green! When I got back from a trip a few weeks ago there was a can of it just waiting to be used! We have a wall in our apartment that was lacking a bit of design and character so I grabbed some empty frames that I have been collecting and went to town on them!

I got these frames over the course of a few thrift store trips. I took the glass out of them and wanted to give them some unity by painting them the same color. I only did one coat on all of them so that the original brown would peak through a little bit, giving the frames a rustic and worn look. Vinegar works well taking off paint as well to give that weathered look as well. Shocker––I plan on using these empty frames for another photo shoot coming up in the next week! Keep an eye out!

Cheers,

Tay

www.taylorjonesphotography.com

www.facebook.com/taylorjonesphotography

DIY | Chair Restoration

Image

I have always wanted to do a photo shoot with a big, overstuffed, radical colored couch in the middle of a field! However, my lack of a pickup truck and access to this dream couch has kept me from doing so. Luckily though, during a trip to the local thrift store, I found this wonderful chair! It looked hideous and rather patched together when I first got it (for a wopping $2!). I went home and had Mike cut a new seat for me while I spray painted it with one of my favorite colors, teal! I cannot wait to use this prop for my next photo shoot. I also got an old briefcase that would look very classy with this chair. I’m thinking, pearls and heals, the old briefcase, and this restored teal chair!

Cheers!

Taylor

www.taylorjonesphotography.com

www.facebook.com/taylorjonesphotography.com


DIY | Chalkboard

I’ve seen these used in photo shoots before and have been extremely antsy to make one! I finally did during a time crunch right before a photo shoot in Buena Vista, Colorado. It was really easy and will be great to use for engagements, weddings, save-the-dates, etc. I used a PIECE OF SCRAP WOOD found in our garage, KRYLON CHALKBOARD SPRAY PAINT, and my wonderful Mike to build a FRAME. You can use anything as a border, or nothing at all. It’s completely up to you!

1.) Wipe off your surface (again, I used scrap wood but you can buy wood squares from Wal-mart and Michael’s)

2.) Apply two coats of Krylon Spray Paint

3.) Allow to dry for 6-8 hours

4.) Add your frame or border around the edges to give it a finished look.

I cannot wait to use this wonderful board in my next engagement shoot!!! Cheers!

Tay

http://www.taylorjonesphotography.com

http://www.facebook.com/taylorjonesphotography

info@taylorjonesphotography.com

First Blog | DIY Christmas Decor!

After quite a few requests to start blogging my apartment, projects I have done, and my photography, I have finally caved! Welcome to my blog! My first post is about the Christmas decor I made today. I know what you’re thinking…it’s the first week of November, nearly 3 weeks from Thanksgiving, etc. After a guilt trip from my boyfriend, Mike, and an inspirational trip to Michael’s Craft store, I just HAD to come home and start these holiday escapades! Without further a due, here are the crafty candle holders I quickly put together. They were cheap, quick, and so cute! I used Mason jars and old candle holders but you can essentially use anything that is glass and see through (vase, baby food jars, etc.) At Michael’s, I got SILVER GLITTER, ELMER’S GLUE, clearance SILVER BALLS, and picked some CRANBERRIES from the great outdoors!

1.) I washed the Mason jars and dug out the old candle wax from the old holders

2.) I took a paintbrush and painted Elmer’s Glue on all of the areas I wanted there to be glitter (very kindergarten, I know…)

3.) Poured glitter onto the glue

4.) Let it dry for a few minutes.

5.) I added a sheet of tissue paper I had in the bottom to act as a base/snow. Luckily, my tissue paper looked like old news paper, so that would work too!

6.) I dropped in the silver fuzzy balls that I found for $1.49 on clearance at Michael’s and the cranberries that I found in my neighborhood.

7.) Place a tea candle in and VOILA! You have an awesome, crafty, and easy new Christmas decoration!

I’ll be working on this blog site over the next few days. Feel free to check out my website and get in touch with me! Cheers! Tay

http://www.taylorjonesphotography.com

info@taylorjonesphotography.com

http://www.facebook.com/taylorjonesphotography